
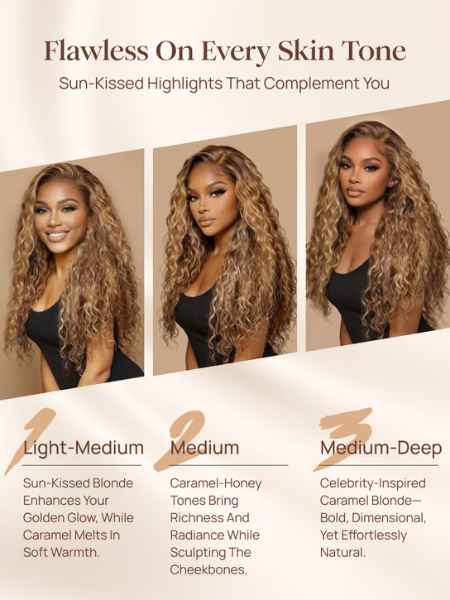
The caramel brown with honey blonde highlights water wave wig is practically a "Beyoncé" signature look! Featuring a stunning color palette paired with invisible lace, this wig can be worn without the need for glue. Honey blonde wigs have now become one of the most sought-after and trending hair colors. This warm blend of golden hues and caramel brown tones creates a captivating, sun-kissed effect that perfectly complements a wide range of skin tones.
If you are drawn to these warm shades, then Nadula's caramel brown with honey blonde highlights color option is undoubtedly your top choice. This color, combined with a water wave texture, creates a style that is both glamorous and natural.
In this article, you can decide whether or not to choose this wig based on an authentic review of the product by YouTube influencer DOLL FACE LYRIC. This post covers an unboxing of the wig, a step-by-step tutorial on how to install and wear it, and a showcase of the final styled look.
The Full Reviews Of Nadula Honey Blonde Highlights Water Wave Wig
Unboxing & Review

Today, I'm going to show you a gorgeous wig released by Nadula Hair. Inside the package you receive, you'll find a dust bag specifically designed for storing the wig. I always keep my wigs in this bag—it’s incredibly convenient and practical. I also received an HD lace wig cap, as well as an elastic band for securing the lace edge. The hair feels incredibly soft to the touch and is wonderfully voluminous.
Beautiful Highlights Color
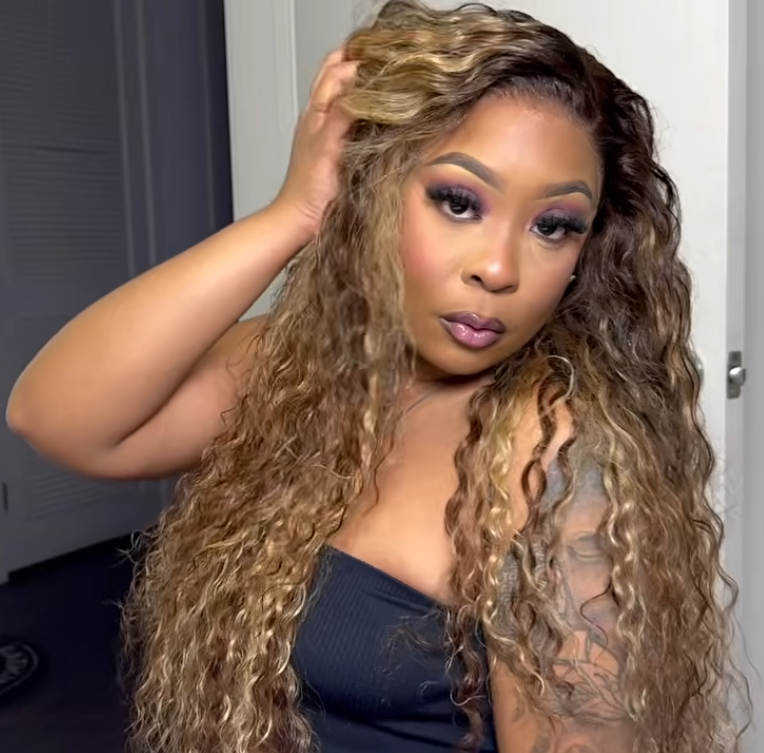
This is a 13x4 pre-everything wig—meaning it comes fully pre-styled and ready to wear. It features absolutely stunning, breathtaking highlights. It gives off total Beyoncé vibes! The color is a blend of caramel brown with honey blonde highlights that is simply gorgeous.
This color reminds me of a Twix bar, with that perfect fusion of caramel and chocolate tones. It evokes such a sweet, delightful feeling. It's truly beautiful. Plus, the hair feels incredibly soft to the touch. The dyeing technique on this wig is executed to perfection, it is of an exceptionally high, professional standard.
Pre-everything Style

This is a 13x4 lace wig. This wig comes "fully pre-customized," meaning the lace edges have already been pre-plucked. The hairline effect is stunning and looks incredibly natural. Not only does it feature a naturally plucked lace edge, but the parting has also been pre-styled for you.
Furthermore, the lace itself comes pre-cut, so it is ready to wear right out of the box—a feature we absolutely love. I am particularly fond of how tiny the knots are; this creates an incredibly realistic hairline appearance. The smaller the knots, the more authentic the scalp looks. It truly does a perfect job of replicating the realistic texture of a natural scalp.
Truly Glueless & Non-Slip
This is a truly glueless wig and no slip wig, so you never have to worry about using any adhesives or harsh glues. The edges on both sides of the wig come pre-fitted with adhesive strips, making the wearing process incredibly easy and convenient. No matter how much you pull or shake it, the wig stays firmly in place. Additionally, the back of the wig features a drawstring designed to provide extra security and ensure a stable, 360-degree secure fit.
I really love its "ready-to-wear" design, which comes with a pre-plucked hairline right out of the box. It sits incredibly flat and flush against the head—the forehead area feels completely free of any bulkiness or unnatural protrusion. It truly lives up to its billing as a "glueless" wig, as it stays securely anchored to the scalp even without the use of adhesive.
Drawstring Design
Inside the wig, there is an adjustable elastic band that you can tighten or loosen as needed. This elastic band is highly flexible, ensuring a fit that is both comfortable and snug. You can easily adjust it to achieve the perfect tightness that suits you best.
Fits All Head Sizes
For a glueless drawstring wig like this, the inclusion of the drawstring ensures a perfect fit for a wide range of head circumferences. So, if you are concerned about whether the wig cap size will fit you, rest assured—it is designed to accommodate all head shapes and sizes.
Easy to Maintain
This water wave wig is truly incredibly easy to maintain and is a real time-saver. It requires almost no effort to get ready. It is a non-slip, completely glueless wig—perfect for those who prefer a "pre-everything" style. Installation is remarkably convenient and user-friendly, allowing you to effortlessly achieve that convenient put on and go look.
How To Install The No Slip Water Wave Wig: Step-By-Step
Step 1: Preparing Your Natural Hair
Braid your natural hair or flatten it down, then put on a wig cap.
Step 2: Putting on the Wig
Before wearing, make sure you have adjusted the internal elastic band to your preference. Once adjusted properly, you can simply place the wig directly onto your head. Just ensure you position it exactly how you like it—sitting snugly and securely.
Step 3: Trimming the Lace
I like to trim the lace edges slightly around the forehead and above the ears; aside from that, no further trimming is necessary because the lace on this wig comes pre-cut. With just a minor trim, the wig looks fantastic overall. Then, simply finish it off with a spritz of lace melting spray.
Step 4: Securing the Wig
The wig features pre-attached adhesive tape along the edges on both sides; you simply need to peel off the protective film to expose the sticky layer underneath. Once the protective film is removed, press the edges directly against your scalp to secure them in place. It is incredibly convenient and user-friendly, allowing you to achieve a true "get up and go" look with ease.
Step 5: Tinting the Lace
You can use a face powder compact to tint the lace base to match your skin tone. I apply a light dusting around the entire front perimeter of the lace for a flawless finish. For the ear tabs—the small lace sections at the ends—and the lace across the forehead, I apply lace melting spray; this ensures the lace edges lay perfectly flat and blend invisibly into the skin, making the application process both quick and simple.
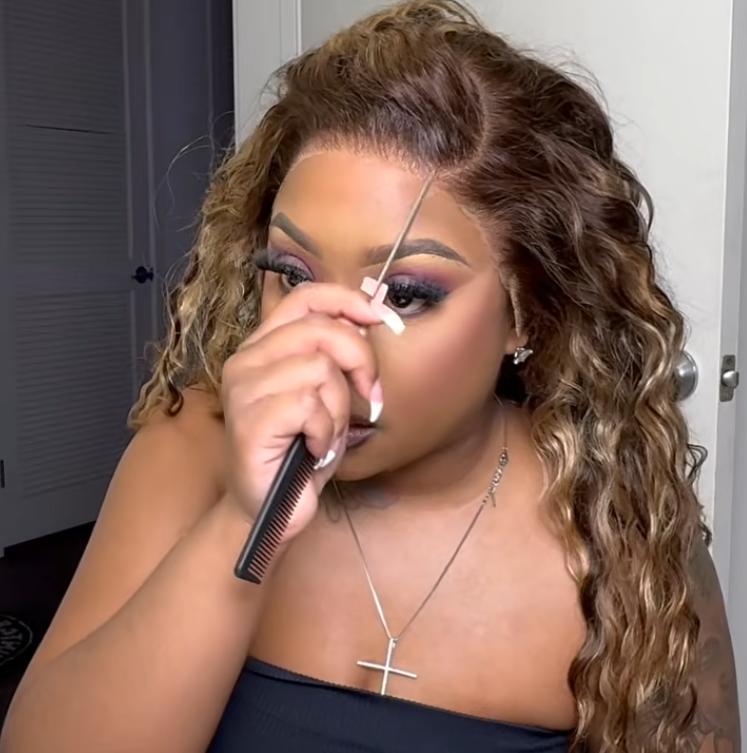
Step 6: Style This Wig
This wig comes with a pre-set side part—specifically a beautiful C-shaped side part. However, if you prefer, you can also switch it to a middle part. Thanks to the generous 13x4 lace coverage area, there is ample parting space, allowing you to choose a left part, a right part, or a middle part—whichever suits your personal style best. This wig looks incredibly full and voluminous, delivering a truly flawless aesthetic. It offers the perfect balance of length and body.
Step 7: Apply Hair Mousse
Take a small amount of hair mousse—mixed with just a touch of water—and apply it sparingly to your hair; the goal is to avoid making your hair look wet or slick. Once applied, you won't need to fuss over styling those wispy baby hairs; your hairline will look perfectly defined. You may also opt to use styling products specifically designed for curly or wavy hair textures; these primarily serve to enhance the definition of your curls and give your hairstyle a fresh, revitalized look.